Installation
There are two ways to install Yano in your wordpress project. The first option is to download Yano plugin version and install in your WordPress Directory. The second option is to download Yano library version and include in your theme.
Install as Plugin
Step 1: Download Yano Plugin Version.
Step 2: Upload the file yano-customizer.zip in your WordPress Plugin Directory.
Step 3: Install and Activate.
Note! before adding yano codes in your functions.php check first if class Yano exists.
// Check if Yano class exists
if ( class_exists('Yano') ) {
    // in here you can add panel, section, fields
}
You can also write in this way.
// Check if Yano class exists
if ( class_exists('Yano') ) {
    // call the function inside
    customizer_fields();
}

// Holds all the field
function customizer_fields() {
// panel
Yano::panel( 'panel_id', [
   'title'	   => 'Panel title',
   'description' => 'Panel description',
   'priority'    => 1
] );

// section
Yano::section( 'section_id', [
   'title'       => 'Section title',
   'description' => 'Section description',
   'priority'    => 1,
   'panel'       => 'panel_id'
] );

// Text Field
Yano::field( 'text', [
   'id'          => 'textdb1',
   'label'       => 'Text Title',
   'description' => 'Text Description',
   'section'     => 'section_id',
   'priority'    => 1,
   'placeholder' => 'Write text'
] );

}
Install as Library
Step 1: Download Yano Library Version
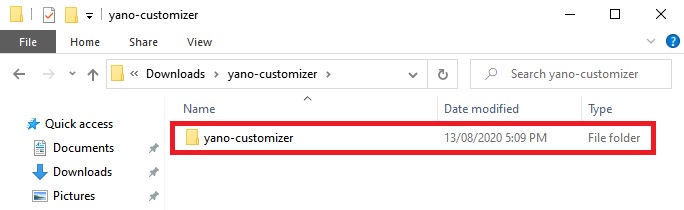
Step 2: Extract yano-customizer.zip.
Step 3: Open folder yano-customizer and inside copy folder yano-customizer.
Step 4: Paste or add folder yano-customizer in your WordPress Theme Directory.
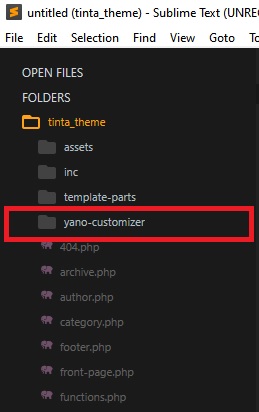
Step 5: After yano-customizer folder has been added, now you can include or require yano-customizer.php in functions.php.
// in functions.php
// include yano-customizer.php
require get_parent_theme_file_path( '/yano-customizer/yano-customizer.php' );

// after requiring
// check if Yano Class Exists
if ( class_exists('Yano') ) {
     // in here you can add panel, section, fields
     // the same as example in above
}